
How To Test Thumbnails In YouTube Studio
Your YouTube thumbnail can make or break your video's performance. Testing thumbnails helps you find the one that gets the most clicks and keeps viewers engaged. YouTube Studio's "Test & Compare" tool simplifies this process by showing different thumbnails to viewers and analyzing their performance. Here's a quick breakdown:
- What It Does: Lets you upload up to three thumbnails, runs A/B tests, and picks a winner based on watch time and clicks.
- Why It Matters: A better thumbnail can boost your click-through rate (CTR) by up to 300%, leading to more views and visibility.
- How To Use It:
- Enable advanced features in YouTube Studio.
- Upload distinct thumbnail variations.
- Run the test for at least 7-14 days.
- Analyze results and let YouTube apply the best thumbnail.
Focus on testing one design element at a time (e.g., facial expressions or colors). Use high-quality, visually clear thumbnails and track metrics like CTR benchmarks and watch time. This data-driven approach ensures your videos grab attention and perform better.
How to Test YouTube Thumbnails: Step-by-Step A/B Testing Process
YouTube Thumbnail Test and Compare Tutorial
This built-in tool simplifies the process of thumbnail A/B testing to help you identify which designs actually drive more clicks.
sbb-itb-b59debf
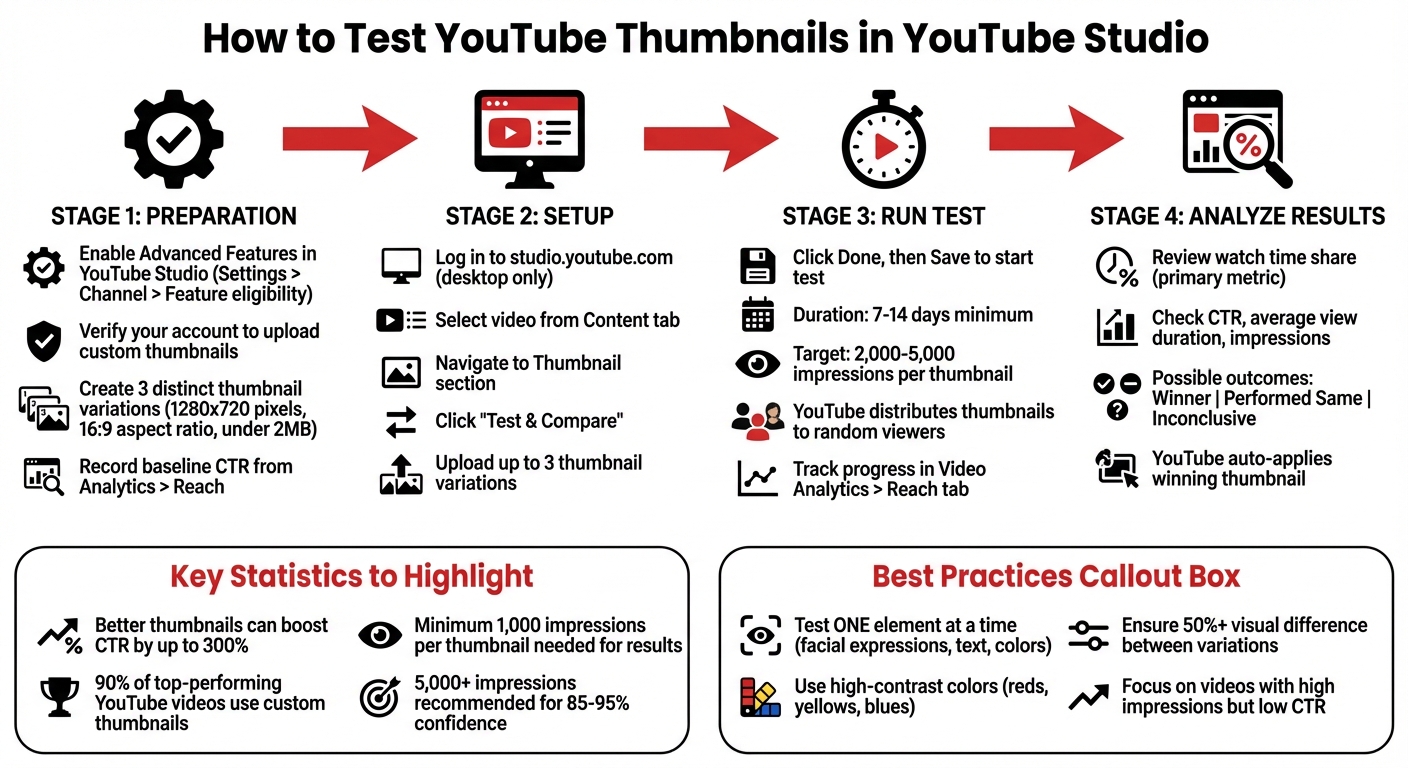
Preparing for Thumbnail Testing
Before diving into testing, make sure everything is properly set up in YouTube Studio so your tests run smoothly and provide reliable results.
Access YouTube Studio
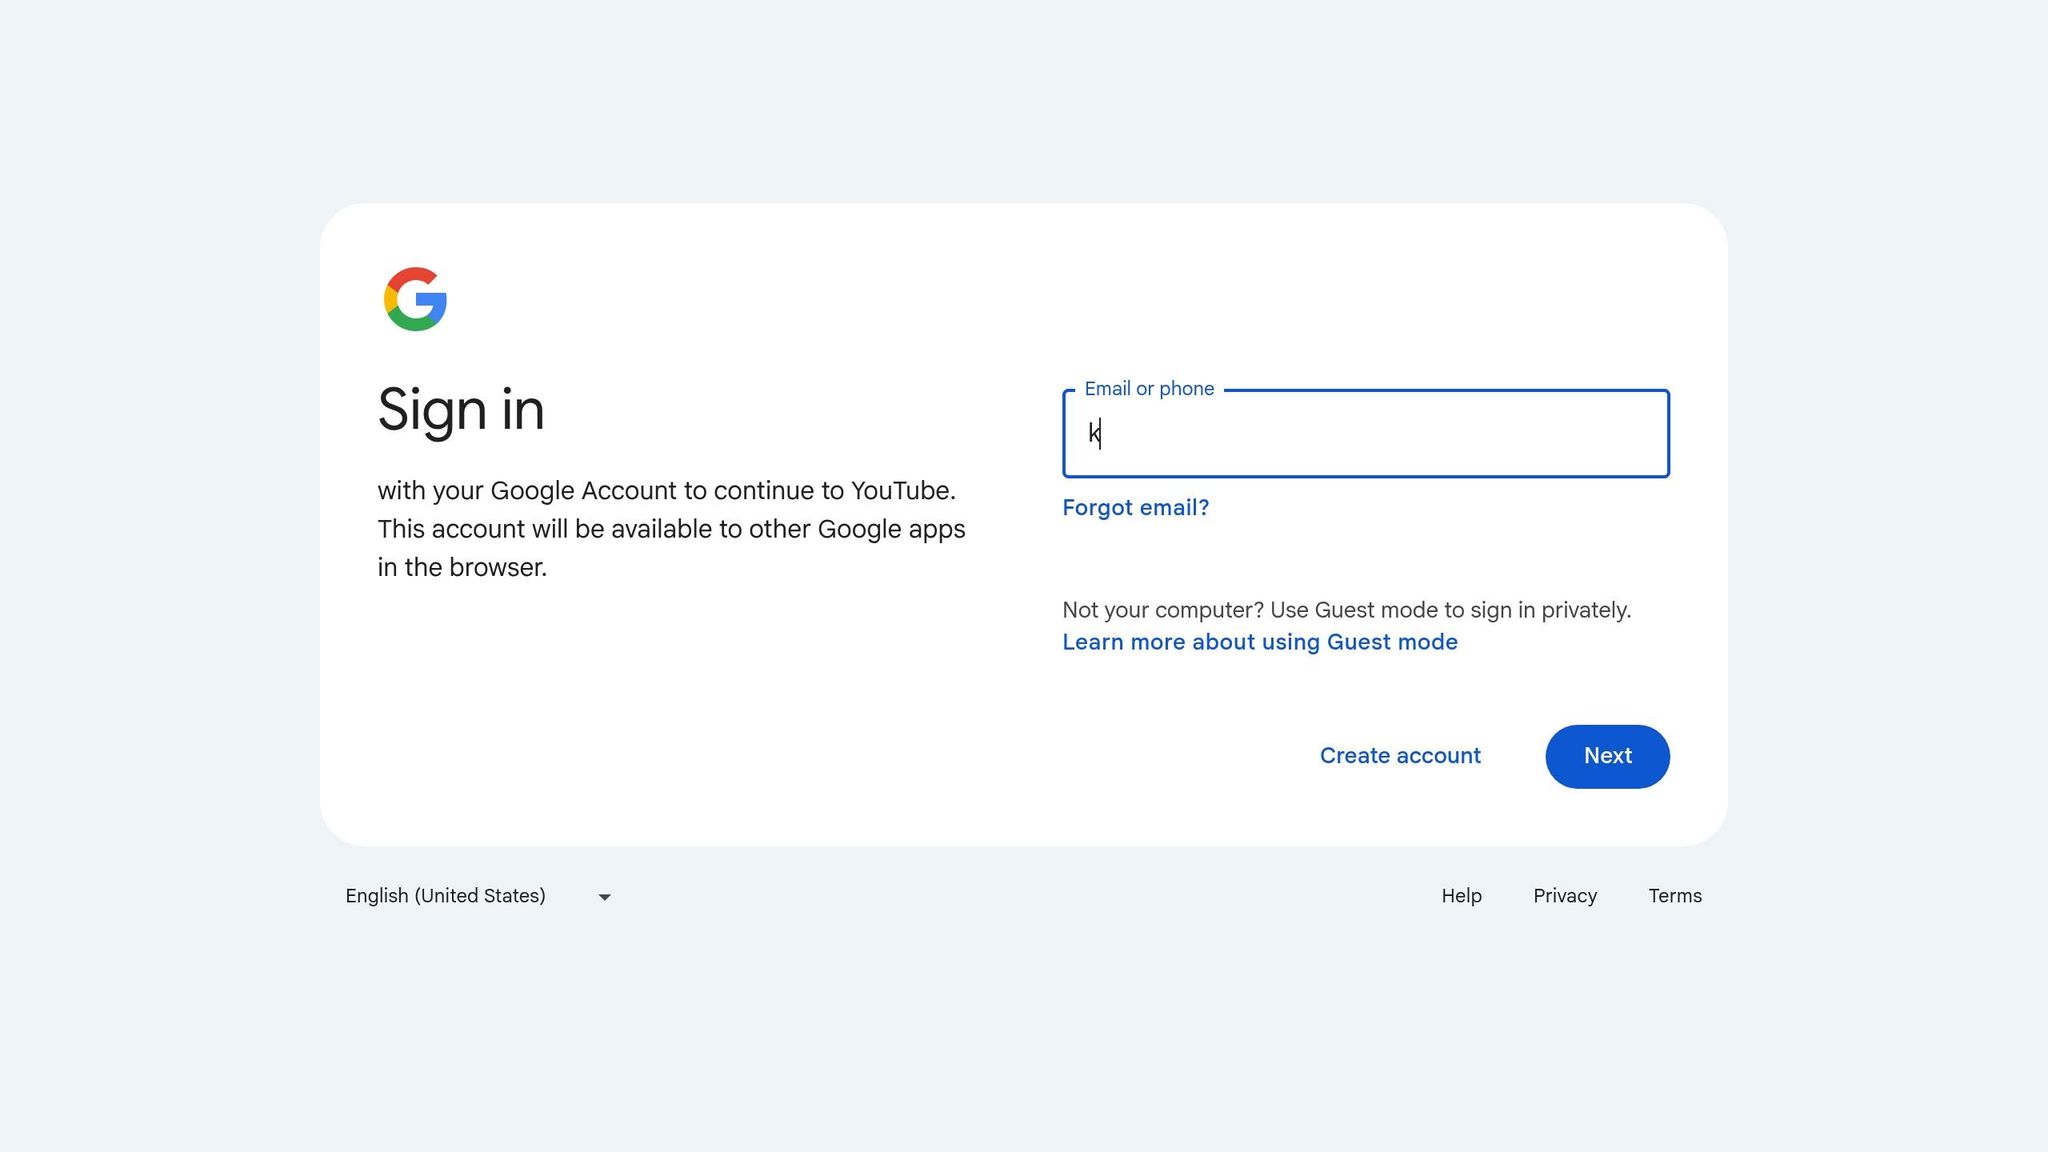
Start by signing in at studio.youtube.com. From there, enable Advanced features by navigating to Settings > Channel > Feature eligibility. This step is essential to access the "Test & Compare" tool. Additionally, verify your account to unlock the ability to upload custom thumbnails. Once these features are enabled, you're ready to prepare your thumbnails for testing.
Create or Select Thumbnails for Testing
You can upload or select up to three distinct thumbnail variations that showcase noticeable design differences. These could include changes in facial expressions, text hooks, color schemes, or even deciding whether to include a face at all. The NoteLM Team refers to these as "Tier 1" elements, which are the most impactful factors to test: for example, a surprised face versus a happy one, or bold versus subtle text hooks.
If graphic design isn’t your strong suit, tools like ThumbnailCreator can help you generate professional-looking thumbnails quickly using AI-driven features. Just make sure your thumbnails meet YouTube’s technical requirements: a resolution of 1280x720 pixels (with a minimum width of 640 pixels), a 16:9 aspect ratio, and a file size under 2MB. Also, preview your designs on mobile devices to ensure that text and faces remain clear and easy to see on smaller screens.
Record Your Current Metrics
Once your thumbnail variations are ready, take note of your current performance metrics to accurately measure the impact of your test. Start by recording your baseline Click-Through Rate (CTR) from Analytics > Reach. You can calculate the improvement later using the formula:
((New CTR - Old CTR) / Old CTR) × 100.
To stay organized, log key details like your video’s title, test date, impressions, clicks, and CTR in a spreadsheet. Over time, this log will help you spot trends and understand what resonates with your audience and avoid common pitfalls. Focus on videos with high impressions but below-average CTR - these already have visibility but may benefit from a stronger thumbnail to grab attention.
How to Test Thumbnails in YouTube Studio
Once your thumbnails are ready and you've recorded baseline metrics, it's time to launch your test using YouTube's "Test & Compare" feature. This tool allows you to run live A/B tests vs gut feeling by showing different thumbnail variations to random groups of viewers simultaneously. Here's how you can set up and execute your test.
Step 1: Select the Video to Test
Log in to YouTube Studio on a desktop computer - this feature isn't available on mobile. If you're testing a new upload, click the CREATE button. For existing videos, navigate to the Content tab and select the video you want to test.
Not all videos are eligible for testing. For example, you can't test videos marked as "Made for Kids", private videos, Shorts, or active Premieres (although Premieres become eligible once the live event ends). Focus on videos that already receive a lot of impressions but have a below-average click-through rate (CTR). This ensures your test aligns with the baseline data you've collected.
Step 2: Upload Thumbnail Options
Scroll to the Thumbnail section of the video details page. Open the options menu on your current thumbnail and select "Test & Compare". You can upload up to three different thumbnail variations for testing. YouTube also lets you test "Thumbnail only", "Title only", or a combination of both.
Make sure each thumbnail is visibly distinct. For example, you might test a design with a face versus one without, or try contrasting color schemes. Avoid subtle tweaks that may not yield meaningful data. Additionally, ensure all thumbnails meet the minimum resolution of 1280 x 720 pixels (720p). If any thumbnail falls below this resolution, YouTube will downscale all variations to 480p.
If you need help creating multiple thumbnail designs, tools like ThumbnailCreator can simplify the process. This AI-powered platform generates high-quality thumbnails quickly, even if you don't have advanced design skills.
Step 3: Start the A/B Test
Once your thumbnails are uploaded, click Done, then Save on the video details page to begin the test. YouTube will distribute the thumbnails to random viewers and evaluate their performance based on watch time share, not just CTR. This ensures the winning thumbnail not only grabs attention but also sets accurate expectations for viewers.
"To help your video get high quality engagement, we optimize tests for overall watch time over other metrics, like click-through-rate." – YouTube Help Center
The test typically runs for about 14 days to gather enough data for reliable results. You can track its progress by going to Video Analytics, selecting the Reach tab, and clicking "How your A/B test is going" followed by Manage test. Be careful not to manually change your video's title or thumbnail during the test, as this will automatically end the experiment.
Analyzing Results and Choosing the Best Thumbnail
Metrics to Track During Testing
YouTube Studio provides several key metrics to help you evaluate your thumbnail test, with watch time share being the most important. This metric shows the percentage of total watch time a thumbnail generates, combining both clicks and viewer retention. It essentially measures whether your thumbnail aligns with the expectations it sets for viewers.
Beyond watch time share, you should also monitor CTR (click-through rate), average view duration, and impressions. For instance, a high CTR but a low average view duration might signal that your thumbnail is misleading or clickbait, which could hurt your video’s performance in the long run. To get meaningful results, YouTube typically requires about two weeks and at least 1,000 impressions per thumbnail. However, for greater accuracy, aim for 5,000 impressions or more per variation. These metrics give you a clearer picture of which thumbnail not only attracts clicks but also keeps viewers engaged.
Selecting the Winning Thumbnail
When your test wraps up, head to the Reach tab in Analytics and check the "How your A/B test is going" section. YouTube will categorize the results as one of three outcomes:
- Winner: One thumbnail clearly outperformed the others.
- Performed Same: No single thumbnail stood out.
- Inconclusive: Not enough data was collected.
If a clear winner is identified, YouTube will automatically apply that thumbnail to your video.
Here’s an example: In a test conducted by vidIQ for an AI-focused video, a thumbnail featuring a simple AI robot image accounted for 59.7% of total watch time and tripled the video’s usual views.
If your test results in "Inconclusive" or "Performed Same", it could mean the thumbnails were too similar or the video didn’t gather enough impressions. In these situations, YouTube will default to the original thumbnail you uploaded. To improve future tests, try experimenting with thumbnails that feature more distinct visual differences.
Best Practices for Thumbnail Testing
Test One Element at a Time
When running an A/B test, focus on tweaking just one design element at a time. This method helps you figure out exactly what’s driving the changes in performance. For example, if you alter both the color scheme and the text in one test, it becomes impossible to determine which adjustment made the difference.
Start with the most impactful elements, like facial expressions, before moving on to text hooks or color schemes. For instance, a tech tutorial video saw its click-through rate (CTR) jump by 74% (from 4.2% to 7.3%) simply by swapping a neutral face for one showing surprise. Once you identify a winning variation, use it as your new baseline and test the next feature. This step-by-step process helps you stack small gains into bigger results over time.
Also, make sure to standardize the length of your tests to get reliable data on user behavior.
Run Tests for at Least 7 Days
YouTube’s algorithm needs enough time to gather data for meaningful conclusions. While its "Test & Compare" tool allows tests to run for up to 14 days, a minimum of 7 days is recommended to capture diverse user behavior patterns throughout the week. For videos with fewer than 10,000 weekly impressions, consider extending the test to a full month.
To achieve statistically significant results, aim for 2,000 to 5,000 impressions per thumbnail variation. This range generally provides confidence levels between 85% and 95%.
After the test period, ensure the thumbnails you choose are not only effective but also visually appealing and high-quality.
Use High-Quality Thumbnails
The quality of your thumbnails plays a huge role in engaging viewers. Even with a solid testing process, poor-quality thumbnails will limit your results. Professional, high-resolution thumbnails tend to perform better. Bold, high-contrast colors like reds, yellows, and blues often outshine muted tones. Keep text overlays minimal - short, catchy phrases work best.
Tools like ThumbnailCreator can help you design polished thumbnails quickly. Make sure your thumbnail variations are visually distinct, aiming for at least a 50% difference between them. Testing nearly identical designs can slow down results since YouTube’s algorithm may struggle to pick a clear winner. For example, in 2025, JackSucksAtLife replaced a cluttered thumbnail with a simplified, high-contrast version and saw views skyrocket by 978% on one video.
Conclusion
Testing thumbnails in YouTube Studio offers a smart way to grow your channel by relying on data insights rather than guesswork. By experimenting with different thumbnail elements, you can identify what grabs your audience's attention and build on those small victories to achieve steady, long-term growth.
Recent experiments have shown noticeable improvements in click-through rates (CTR), highlighting how crucial thumbnail optimization is. Considering that 90% of YouTube's top-performing videos feature custom thumbnails, it’s clear that refining thumbnails is a must for creators looking to boost engagement.
One standout feature of YouTube Studio's "Test & Compare" tool is its focus on watch time share, going beyond just clicks. As YouTube Studio explains:
"Great thumbnails don't just get viewers to click. They also help viewers understand what the video is about, so that they can make informed decisions about what to watch".
Armed with this data, it’s time to apply these insights to your channel strategy. Make thumbnail testing a regular part of your workflow. Use successful thumbnails as benchmarks and track results to spot effective trends. Whether you’re creating thumbnails from scratch or using tools like ThumbnailCreator for efficiency, the secret lies in continuous testing and improvement. Let your audience's preferences guide your decisions.
FAQs
Why does YouTube pick a winner by watch time share instead of CTR?
YouTube places greater importance on watch time share rather than click-through rate (CTR) because it provides a clearer picture of viewer engagement. While CTR reveals how effective a thumbnail is at grabbing attention, it doesn’t tell the whole story - specifically, whether viewers stick around to watch the content. Watch time share, on the other hand, tracks how long viewers stay after clicking, which helps YouTube highlight videos that hold interest. This approach aligns with YouTube's goal of promoting content that keeps viewers engaged for longer periods.
How many impressions do I need for a thumbnail test to be reliable?
For a dependable thumbnail test, try to gather at least 1,000 impressions per variation. However, aiming for 5,000+ impressions will give you more reliable insights. Make sure to run the test for at least 48 hours to gather sufficient data. If your video averages fewer than 10,000 impressions per week, you might need to extend the test duration to around a month to ensure the results are statistically meaningful.
What should I do if my Test & Compare result is inconclusive?
If your Test & Compare results don’t provide a clear winner, give the test more time to collect sufficient data for a reliable conclusion. Typically, this means waiting at least two weeks and gathering thousands of impressions. For videos with fewer than 10,000 impressions per week, you might need to extend the test to up to a month.
When analyzing the results, prioritize metrics like watch time and viewer engagement over just the click-through rate. These deeper insights will help you determine which thumbnail resonates better with your audience.