

AI Tools for Foreground and Background Layering
If I want the short answer: pick the tool based on what leads the thumbnail - face, text, or product. For YouTube thumbnails at 1,280 × 720 in a 16:9 format, the main job is simple: separate the subject, keep text readable at small sizes, and control the background so the image is clear in under a second.
Here’s the core takeaway from this guide:
- ThumbnailCreator is best when I want an all-in-one YouTube thumbnail flow with auto layer splitting.
- Canva works well when I care most about text layout, templates, and simple drag-and-drop editing.
- Adobe Express fits best when I want guided editing with Adobe tools and stock assets.
- remove.bg is best when I only need a fast subject cutout, then plan to finish the design somewhere else.
- PhotoRoom is a good pick when I have one main subject and want simple background swaps in one editor.
The article compares each tool using four checks:
- Subject isolation
- Text overlap support
- Background control
- Thumbnail workflow fit
A few practical points stand out right away:
- Mobile thumbnails can shrink to about 120 pixels wide, so text needs strong contrast to avoid common readability issues.
- Short text usually works best: about 3–6 words.
- Clean cutouts, blur, and darker backgrounds help push the subject forward.
- Some tools do the whole job, while others only handle one step.
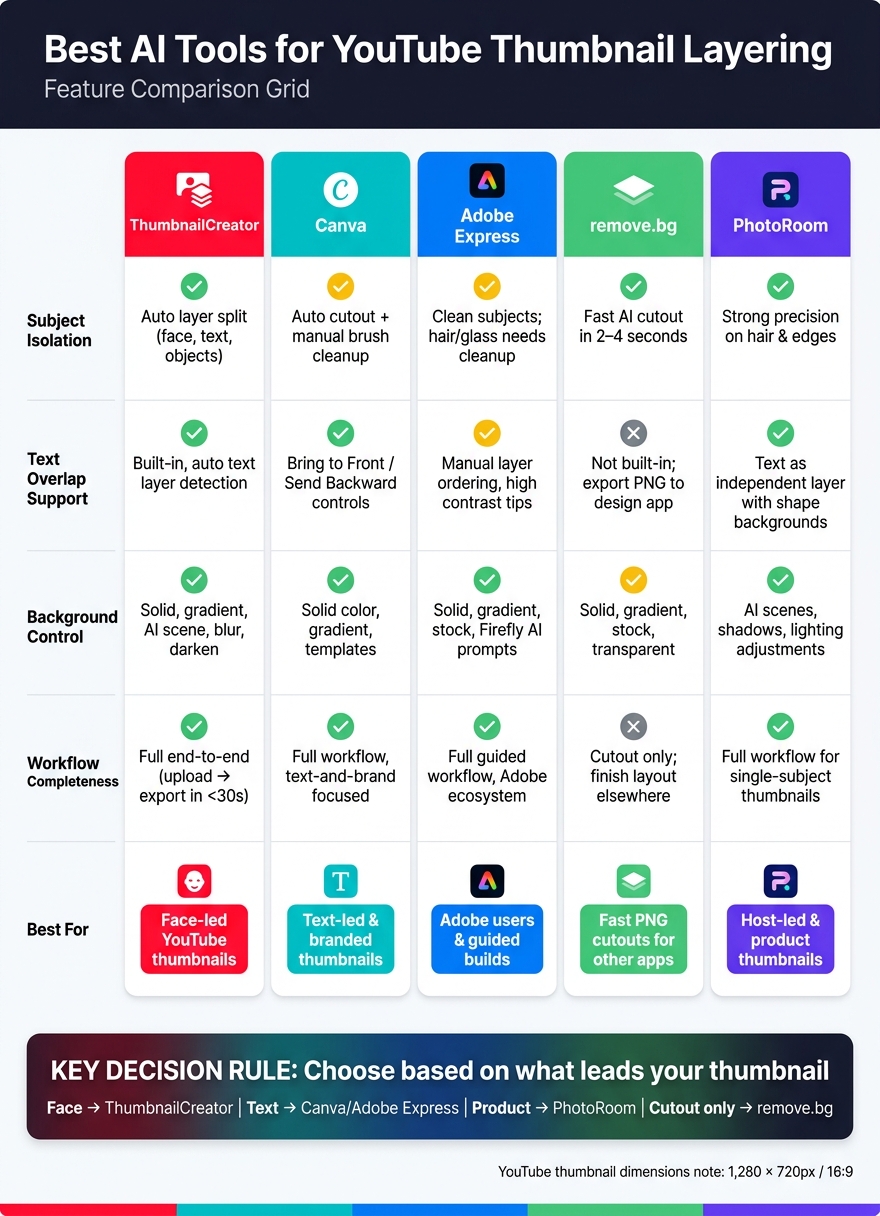
Best AI Thumbnail Tools: Side-by-Side Comparison
Best 2025 FREE Background Remover! Top 12 Compared
sbb-itb-b59debf
Quick Comparison
| Tool | Subject isolation | Text overlap | Background control | Best fit |
|---|---|---|---|---|
| ThumbnailCreator | Auto splits subject, text, and other parts | Built in | Solid colors, gradients, AI scenes, blur | Face-led YouTube thumbnails |
| Canva | Good auto cutout with manual cleanup | Strong layer order tools | Simple swaps, templates, gradients | Text-led and branded thumbnails |
| Adobe Express | Good for clean subjects, may need cleanup on hair/glass | Good manual layer order | Solid, gradient, stock, prompt-based edits | Adobe users and guided builds |
| remove.bg | Fast, clean cutouts | Not built in | Basic swaps after cutout | Prepping PNG cutouts for other apps |
| PhotoRoom | Strong on single-subject cutouts | Built in | AI scenes, colors, lighting, shadows | Host-led and product thumbnails |
My read: if I need the full thumbnail done in one place, I’d look at ThumbnailCreator or PhotoRoom first. If text and brand style matter more, I’d start with Canva or Adobe Express. You can also follow our guide on adding text to thumbnails for better typography. If I just need the subject cut out in 2–5 seconds, remove.bg makes the most sense.
That gives me a simple way to choose and compare tools before I get into the full breakdown.
1. ThumbnailCreator
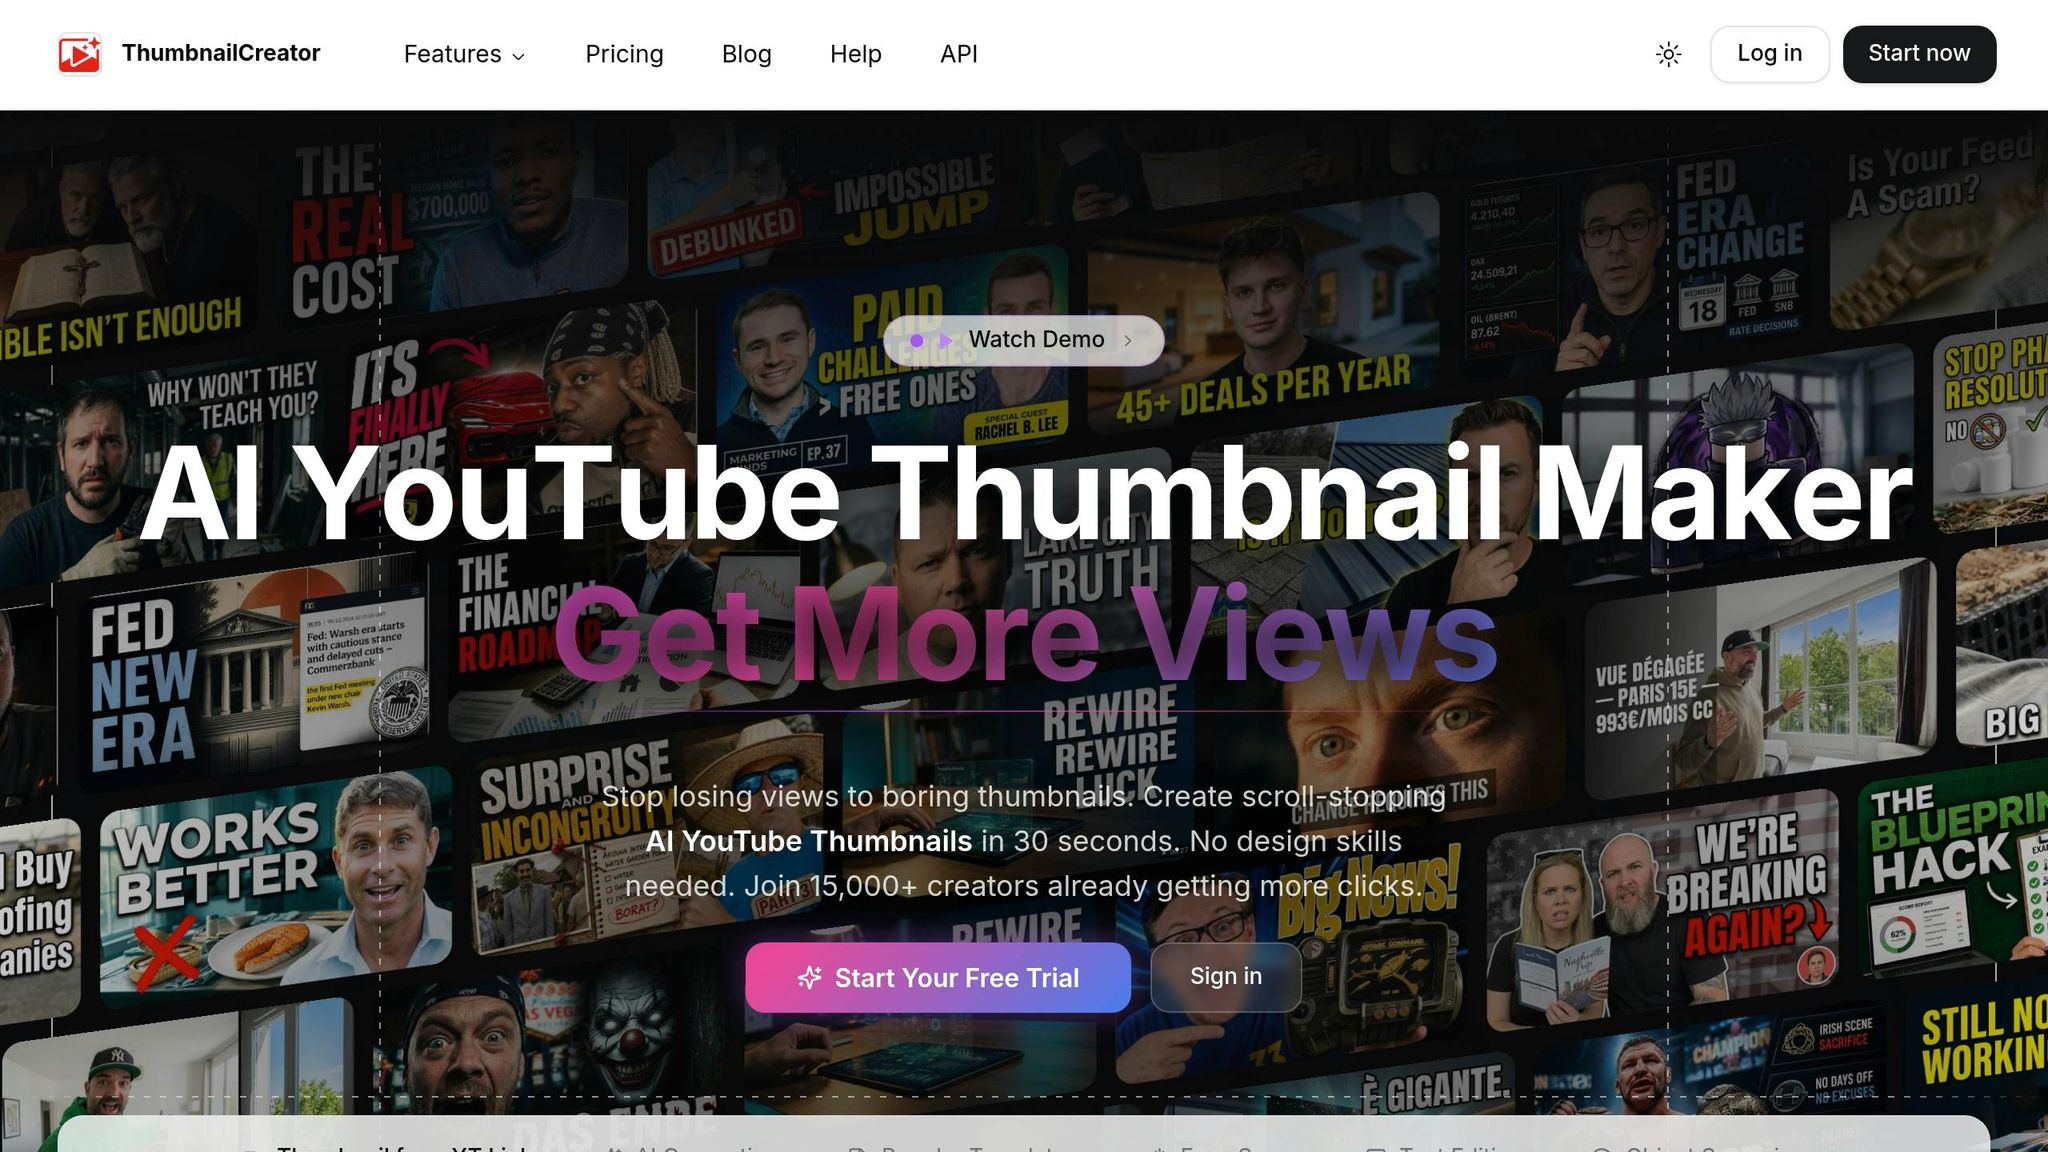
ThumbnailCreator is made for YouTube thumbnails. Its AI splits a thumbnail into editable layers, including the foreground, background, text, and other objects.
Subject Isolation
Layer Split turns a flat JPEG or PNG into separate foreground, background, text, and object layers. It works best with clear close-ups and mid-shots. If the edges come out rough, like with flyaway hair, you can clean them up with the repair brush.
Text Overlap Support
During Layer Split, the tool also detects text layers on its own. That means you can place titles in front of or behind the subject without doing manual cutouts.
The text editor includes bold fonts, outlines, drop shadows, and glow effects. That helps overlapping titles stay easy to read. There’s also a mobile preview, which checks readability at 120 pixels wide.
Background Control
Once the subject is isolated, you can swap the background for:
- A solid color
- A gradient
- An AI-generated scene
- A template
You can also blur, darken, or desaturate the background so the subject stands out more. And yes, natural-language prompts work here too. For example, you can ask for a slightly blurry background so the subject pops.
Thumbnail Workflow Fit
The full process is fast: upload a frame, isolate the subject, change the background, add text, and export. In many cases, it can take under 30 seconds.
Exports are automatically sized for YouTube at 1280×720 pixels. If you need more detail, high-resolution exports go up to 3840×2160.
The face swap and object swap tools work on the foreground layer. So if a facial expression feels flat, you can switch it to something more dramatic. Or you can swap in a more specific prop without rebuilding the background or text layers.
2. Canva
Canva combines drag-and-drop editing, background removal, and YouTube thumbnail templates at 1,280 × 720 px.
Subject Isolation
Canva's Background Remover cuts out the subject onto a transparent layer, so you can place it on a new background. Standard removals usually take about 2–5 seconds.
If the edges get tricky, like hair or fingers, Canva gives you Erase and Restore brushes with adjustable brush size for manual cleanup. That extra control helps when the auto cutout gets close, but not quite all the way there.
Background Remover is part of Canva Pro and isn't available on the Free plan.
Text Overlap Support
Canva lets you place text in front of or behind other elements with Bring to Front and Send Backward controls. That makes it easy to overlap title text with the subject and add a sense of depth.
For thumbnails, less usually works better:
- Keep text to 3–6 words
- Keep it clear of the bottom-right timestamp
Background Control
Once the subject is isolated, Canva makes it easy to place it over a solid color or gradient background. You can also rearrange the layer order so the foreground stays the main focus.
That matters more than it sounds. A thumbnail can have good text and a good subject, but if the visual stack feels flat, the whole image loses punch. Following thumbnail composition rules helps maintain depth.
Thumbnail Workflow Fit
Canva works best as a fast thumbnail builder. Templates give you the correct size and a quick starting point, while the drag-and-drop editor makes it simple to resize, reorder, and lock elements.
So if your goal is fast assembly, Canva fits well. It's less about deep manual layering and more about getting from idea to finished thumbnail without much friction.
Next, the article looks at a more guided layering workflow.
3. Adobe Express
Adobe Express leans on templates and AI tools to split the foreground, background, and text with less manual work.
Subject Isolation
Use Remove Background to pull out the subject and export it as a transparent PNG for layering.
When the subject is clear, cuts usually come out clean. Hair, glass, and busy scenes often need extra cleanup.
Text Overlap Support
Use layer ordering to place text above the subject or let it overlap part of the subject. Keep the copy to 3–5 words, make sure it has high contrast, and avoid the bottom-left duration badge.
Background Control
Once the subject is isolated, Adobe Express lets you swap the background for a solid color, gradient, or stock image. Firefly tools can add, replace, or remove elements with prompts, which helps keep stray distractions out of the frame.
Thumbnail Workflow Fit
This setup works well for creators who want a guided 1,280×720 process: remove the background, change the backdrop, and add text fast. It’s a good fit if you want polished layers without using advanced design software. For a broader look at the process, see our AI thumbnail generation guide.
Next, the article shifts to a tool built for fast cutouts and transparent layers.
4. remove.bg
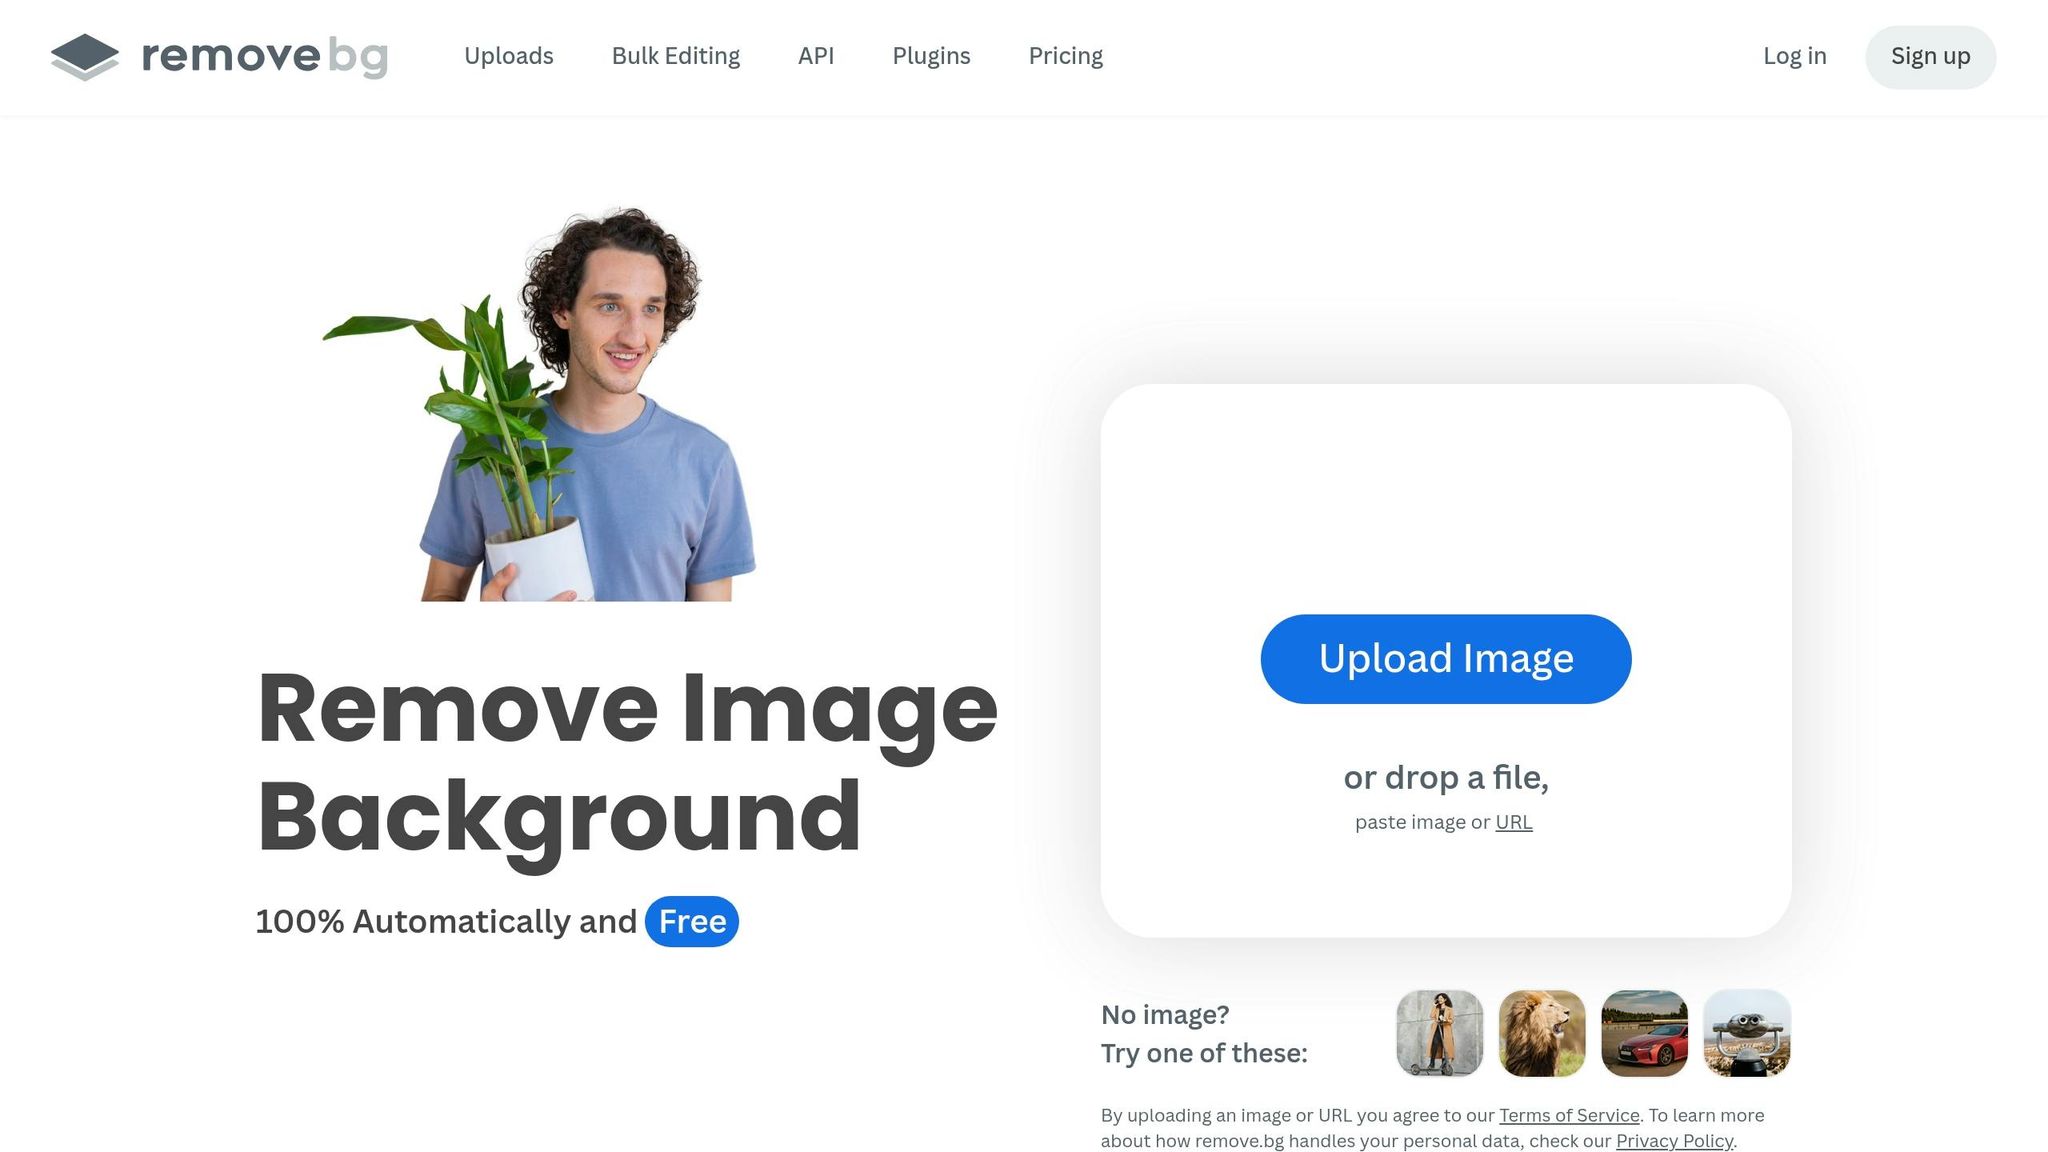
remove.bg focuses on one job: removing image backgrounds with AI and turning the main subject into a transparent PNG.
Subject Isolation
Upload a photo, and remove.bg pulls out the foreground subject without manual masking. That cutout becomes the layer creators can place over text and a new background later.
It does a good job with hair, edges, and other small contours, and a 12-megapixel JPEG cutout usually takes two to four seconds. When the result misses part of the subject or leaves behind bits of the background, the Magic Brush tool lets you paint those areas in or out.
That said, the tool works best when the subject stands apart from the background. If the scene is busy or the contrast is low, you may end up with rough edges that need cleanup.
Text Overlap Support
remove.bg doesn't handle text layers inside the tool itself. Its role in thumbnail design is more indirect than that. It gives you a clean transparent PNG, which you can drop into a design app and place headline text near the subject without color spill.
A simple drop shadow can also help text stay readable when it sits across both the subject and the background.
Background Control
Once the background is removed, you can keep it transparent or swap it for a solid color, gradient, stock image, or your own uploaded background in the editor. That's handy for quick swaps.
Still, remove.bg is best used for cutouts first. Then do your text and full layout work in a design tool. So if you need a clean subject extraction, it fits well. If you want to build the whole thumbnail from start to finish, this isn't the place for that.
Thumbnail Workflow Fit
remove.bg works best as a preprocessing step, not a full thumbnail studio. For teams or creators working at scale, it also supports bulk processing at up to 500 images per minute and connects to more than 2,000 apps through API and automation platforms like Zapier.
That setup makes batch cutout work much easier, especially when you're dealing with a large thumbnail library.
For text, branding, and layout, the next tool adds broader design controls.
5. PhotoRoom
PhotoRoom does more than simple cutouts. It keeps the whole layering process in one workspace. It’s an AI-powered background remover and editor that brings together subject cutout, background swaps, AI-made scenes, and text layers in one tool, which makes it a solid pick for thumbnail work.
Subject Isolation
PhotoRoom’s background remover automatically finds and cuts out the main subject. It handles tricky details like hair and other rough edges with strong precision, so most cutouts are ready to use right away. That said, if elements overlap a lot, you may still need a fast touch-up.
It’s not the fastest cutout tool out there. But it often delivers cleaner edges on harder images. That tradeoff works well for faces, products, and upper-body shots.
Text Overlap Support
PhotoRoom treats text as its own layer, so you can place it above or below the subject in the layout. Each text block can also have its own background shape, like a pill, banner, or rectangle, with adjustable opacity to help titles stay readable on busy images.
Background Control
Once the subject is cut out, you can swap the background for a solid color, gradient, or AI-generated scene. PhotoRoom also adds shadows and lighting tweaks around the cutout so the subject feels more grounded in the new scene.
For thumbnails, that matters. A clean background and high-contrast text make the message easier to read at small sizes. This clarity is essential for hitting thumbnail CTR benchmarks in competitive niches.
Thumbnail Workflow Fit
PhotoRoom works best for host-led thumbnails like vlogs, reviews, and creator-led images where one clear focal point needs to pop. Paid plans also support batch processing, which helps when you want a consistent look across a thumbnail series.
If your thumbnail process starts with one main subject, PhotoRoom keeps the cutout, background, and text work in one place. That’s where it shines most.
Pros and Cons of Each Tool's Layering Approach
Each tool in this article handles layering in its own way. Some lean toward speed. Others give you more control. And some make cleanup easier than the rest.
The main difference comes down to three things: cutout quality, layer order, and background control. Here’s how each tool stacks up.
| Tool | Pros | Cons | Best Use Case |
|---|---|---|---|
| ThumbnailCreator | Splits foreground, background, and text automatically; layer-order control for visual hierarchy | Overlapping elements can cause edge bleed; AI suggestions may clutter the layout if not manually reordered | Face-focused reaction thumbnails; creators who want an end-to-end YouTube-specific workflow |
| Canva | Good for text-heavy, layered compositions; flexible layer controls | Less thumbnail-specific; edges may need manual cleanup | Educational or multi-element thumbnails with icons, text blocks, and branded backgrounds |
| Adobe Express | Strong compositing for brand-heavy or multi-product layouts | Steeper learning curve; easy to place layers in the wrong order | Complex tutorial thumbnails with multiple product shots, logos, and layered text |
| remove.bg | Fast cutouts; strong accuracy on people and products | No layout tools; layering must happen in a second tool | Product-centric thumbnails where clean cutout quality is the priority before compositing elsewhere |
| PhotoRoom | Quick subject placement over stylized backgrounds; clean edges on most shots | Pre-made layouts limit custom hierarchy; multiple overlapping subjects may not separate cleanly | Host-led or product-focused thumbnails with one clear focal point and bold, simple backgrounds |
A simple way to think about it: ThumbnailCreator tries to do the whole job in one place, Canva and Adobe Express give you more room to arrange layers by hand, remove.bg focuses on clean cutouts, and PhotoRoom keeps things fast when you have one main subject.
That sets up the next step: figuring out which tool matches the way you like to work.
Which AI Layering Tool Fits Your Thumbnail Workflow?
After looking at cutout quality, layer control, and background handling, the best pick usually comes down to one thing: what drives your thumbnail most. Is it your face, the text, or the product?
Vloggers and on-camera creators who need fast face isolation and click-ready layouts will usually get the most out of ThumbnailCreator. Its AI Layer Splitting automatically separates foreground, background, and text into independent layers.
Faceless channels, finance educators, and niche tutorial creators often do better with Canva or Adobe Express when the hook depends more on text than personality. Adobe Express also makes sense if you already work inside the Adobe ecosystem.
High-volume creators and teams often get the best results from a hybrid setup: use ThumbnailCreator to test layouts and thumbnail styles fast, then turn the top-performing ideas into Canva or Adobe Express templates for batch production.
Use the quick guide below to match your workflow to your thumbnail type.
| Creator Type | Primary Tool | Why It Fits |
|---|---|---|
| Vlogger / personality-led channel | ThumbnailCreator | Fast face isolation, YouTube-standard sizing |
| Finance / education / commentary | Canva or Adobe Express | Text controls, brand kits, templates |
| Gaming / reaction channel | ThumbnailCreator + Adobe Express | Object swapping, bold text, flexible layout |
| Product / lifestyle channel | PhotoRoom | Subject placement, stylized backgrounds |
| High-volume team or agency | Canva + ThumbnailCreator | Shared templates, fast layout testing |
Start with the dominant thumbnail element. If it's your face, lean toward ThumbnailCreator. If it's text and brand consistency, start with Canva or Adobe Express.
FAQs
How do I choose the right layering tool for my thumbnail style?
Pick the tool based on how you like to work: fast testing or hands-on control.
ThumbnailCreator makes a lot of sense if you want to test layouts fast, keep your branding in line, and make thumbnails easier to read on mobile without needing high-level design skills.
It can automatically split thumbnails into foreground, background, text, and object layers. From there, you can move, resize, or swap elements using simple prompts or drag-and-drop editing.
What makes text readable on small mobile thumbnails?
Keep text short - ideally 3–5 words - and use bold, high-contrast sans-serif fonts like Impact or Montserrat.
For better readability, aim for at least a 4.5:1 contrast ratio. You can also add a black stroke, drop shadow, or semi-transparent banner to make the text stand out. Keep text away from the bottom-right timestamp, and leave 40–60 px of space around the edges so nothing gets cut off. ThumbnailCreator can help automate these tweaks.
When should I use ThumbnailCreator instead of a cutout-only tool?
Use ThumbnailCreator when you need more than simple background removal.
A basic cutout tool only isolates the subject. ThumbnailCreator goes further by letting you separate, move, resize, and edit the foreground, background, and text in one place.
It also helps you clean up edges, swap objects or faces, generate new backgrounds, and improve contrast and readability for mobile, all without jumping between multiple programs.